TOM is a Cat Mat - A Finished Quilt

Last year (was it only last year??), I made a mat for Elvis. He was our 24 year old cat and he loved to sit in front of the radiator, but he needed some padding for his old bones. Almost as soon as it was completed, one of our other cats, Tom, wanted a mat, too. It took that year, but I finally have a nice mat for him to use. 

For Tom's mat, I used a lot of older fabric from my stash and a lot of vintage fabric. When I was done piecing the "TOM", I decided it needed some extra size and added some fun boarders. As with all my quilts, Tom's mat is completely hand pieced using no pattern. 

IMG_8802.JPG

I used one of my go to backing fabric, which was gifted to me by my Brother in Law. I wanted this mat to be extra cushy and soft, so I used two scraps of batting to make it extra lofty. I hand quilted this mat with cream colored cotton thread. 

I'm sure most people do not use regular sewing cotton as quilting thread, but I use it just like sewing, doubled and knotted. The only issues I've ever had with this is that it can bunch, and the doubled thread can get off balance, so that you have a longer loop from one of the doubled threads. But with careful slow stitching, I usually catch this with no problem. Sometimes, pulling the thread taut, I have broken the thread at the eye of the needle. When this happens, I simply rethread both the loose ends and keep going. 

IMG_8805.JPG
IMG_8807.JPG

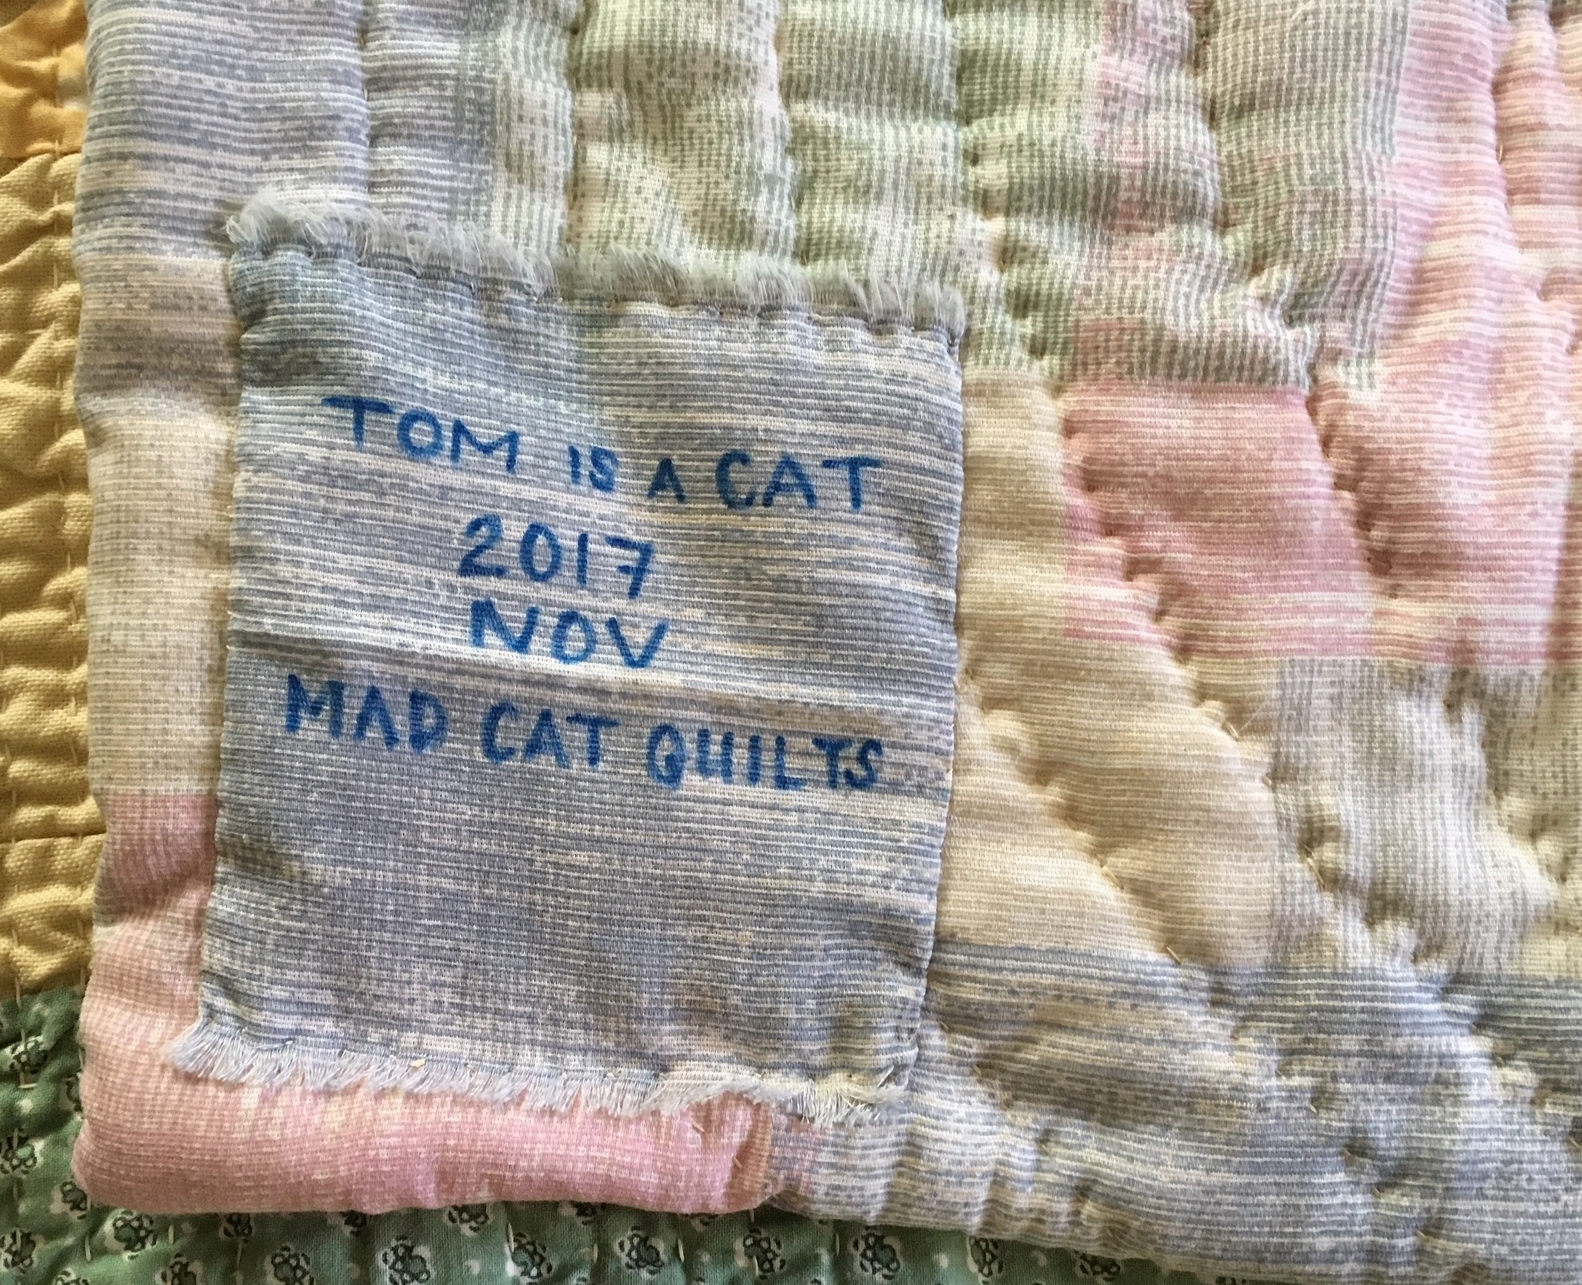
I bound this mini quilt by folding over the backing. Again, there is no measuring when I do this process so often the boarders vary in width on each edge. This mat had one little edge that was cut off, not square and I just folded the boarder accordingly, so one corner is snipped off. I had not intended this, but that was the way the quilt "wanted" to be, so I went with it! I really like the way it turned out and might try this technique again (on purpose!). I labeled this quilt very simply using another piece of the backing fabric. I liked the way the edges of the label were frayed, so instead of tucking them in, I sewed the label on the back of the quilt in such a way as to show them off. 

The morning I finished Tom's is a Cat Mat, which measures approximately 37" x 26 1/2", Tom himself was sitting by the radiator and I put the mat down ASAP. Of course he didn't go near the radiator again! But Flounder took advantage of the new, soft and warm, mat! Cat mats are for everyone to share!

IMG_8821.JPG

Tom likes his mat now and I'm happy to have a finish before the end of the year! This mini quilt is also on my Q4 FAL list so check one off for me! 

Linking up around the web this week. 

IMG_8825.JPG

Whale Teeth Mini - A Finished Mini Quilt

Back when I made my last two minis, I pulled out an old block that I had made years ago. I think I recall that this block was made, just for something to make out of precut scrapes I had. Since I was in mini mode, I slapped a backing on and got to quilting. 

Whale Teeth Mini (thanks for the name @crimsonrobot!) measures approximately 11 1/2" x 12" and uses a scrap of a shirt as backing (thanks @internettrevor!). The batting is also scraps and it was quilted with green and blue cotton thread. 

What does everyone do with their mini quilts?


Gypsy Moon Mini: A Finished Mini Quilt

I was so inspired by my new mini and the little scraps that came with it, that I got right down to business making a mini of my own!

I rarely can make any work to completion in one day, so this was an especially fun finish! All the pieces needed fell into place. First, inspiration: The scraps from @gypsymoonquilts gave me were lovely and easy to work with. I happened to have a few other scraps right at my fingertips that I used to round out this mini. 

Second, I had time! I had a fairly free day to sit and sew! The top came together quickly, the batting scraps were on top of a pile, I used one of my favorite prints as a backing. The quilting and basting goes so fast with a mini!

I hope my inspiration hangs in there! I love the feeling of a finish! 

Linking up with Move It Forward Monday, Monday Making, Oh Scrap and more. 

Scrappy Little Hearts: A Finished Quilt

This little strangely shaped quilt started out when I saw Cluck Cluck Sew's heart block pattern. I know a lot of people fell in love with this block this year. I didn't really have a plan after I made the blocks. 

But after I made them, I couldn't let them rest.  I had other projects I was working on but the little hearts called to me. 

I knew I also wanted to scrap bust this year, so I pulled a ton of green scraps and started to create wonky courthouse steps around the hearts. I linked it all together with some 9 patches in purples, mimicking the checks in the hearts. The quilt was looking a little crazy at this point so I added some calming solid boarders. 

I used the last heart block, and most crooked and crazy, for the back, as well as more solids. I sandwiched top and back together with some scrappy batting.  I used purple pearl cotton to go around each heart on the top and each 9 patch. Then used light green cotton thread to densely quilt the rest of the top. I embellished the boarders and back heart. 

I made a thin rolled boarder to finish it all off. Bc of the improv piecing, this quilt is a crazy shape and all crooked. It kinda averages at 37" x 37" but is measures as wide as 39" in some places. 

Pit was the biggest helper on this little quilt. He knows it would make a cute baby quilt, or play mat, or wall hanging. 

I washed this quilt and it got nice and crinkly. I was a little worried about how it would wash bc I used a bunch of different fabrics for the top. Mostly cotton but also some velveteen, and wool, as well as blends. This quilt doesn't have a label yet. 

This is my first finish of Q2 of the 2015 Finish Along. I have a feeling I'm not gonna get as much done this quarter, but I'm happy with this little finish!

All Gingham All The Time

Or, A Not Very Good Quilt. A Finished Quilt - with a story!

ag front.jpg

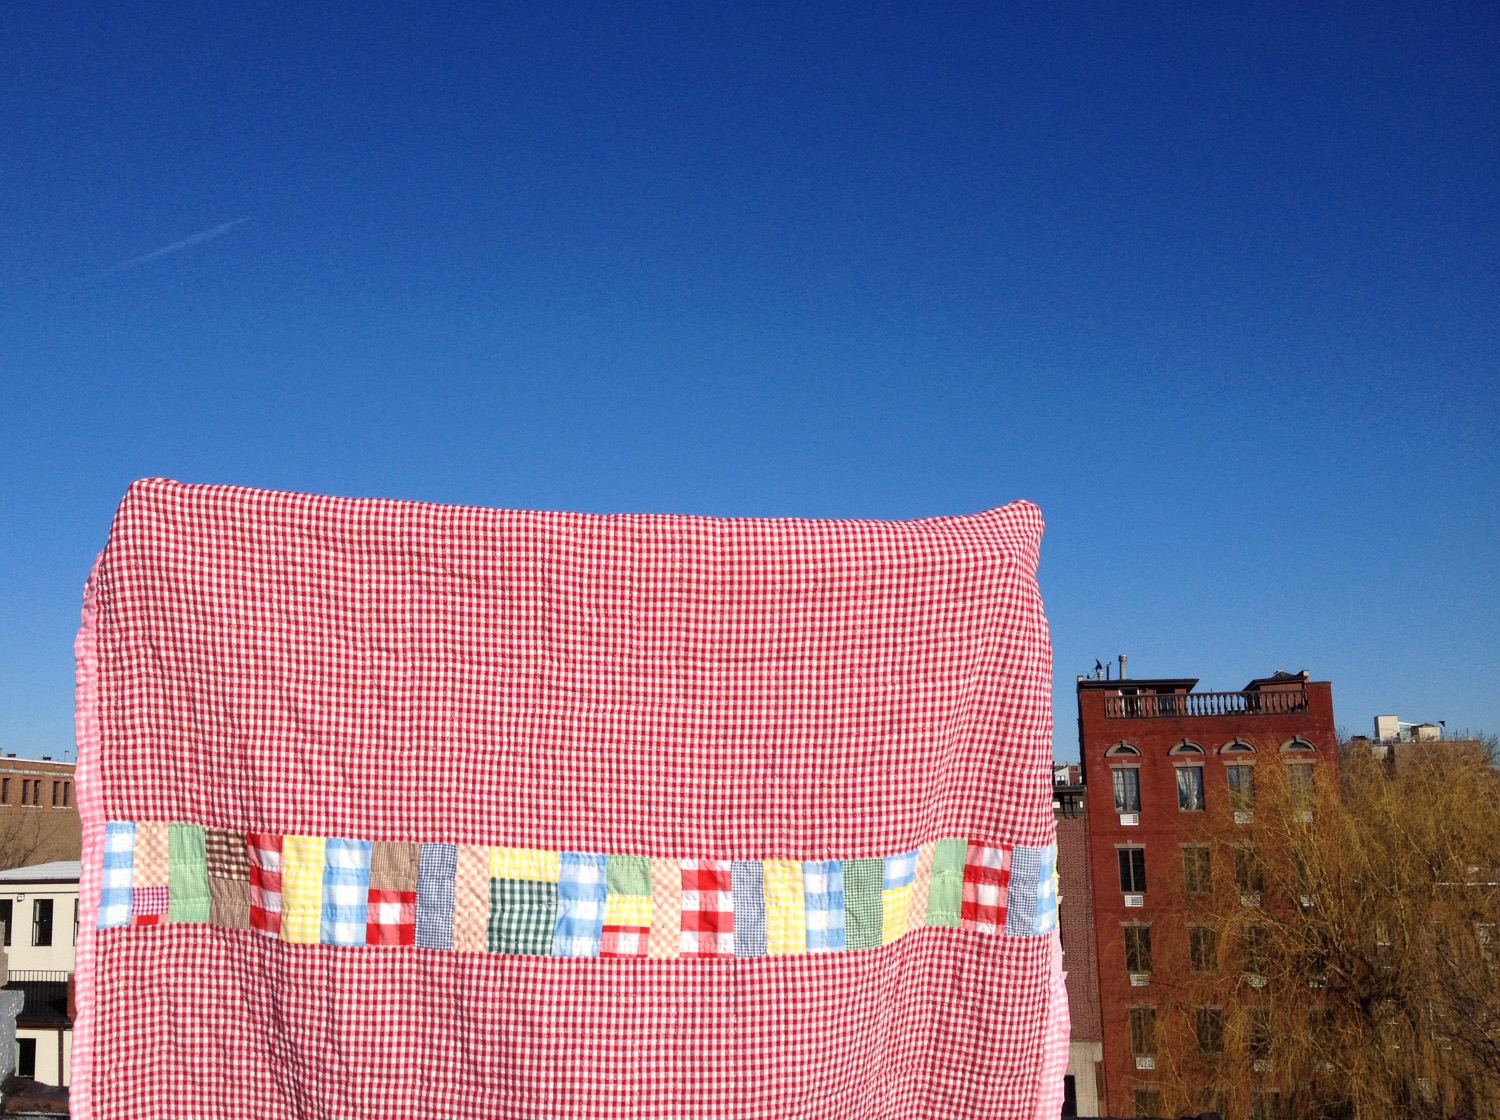
I heart gingham, can you tell? All Gingham All The Time uses almost all the gingham from my stash, most of it vintage. I found everything I could, from pre-cut vintage squares and on, to make a bright and cheerful courthouse steps design.

ag close.jpg

It's the largest quilt top I have made to date, all hand pieced! The backing for this quilt is a vintage gingham table cloth that my husband used in an art piece in college. It had a minor stain (something to do with apples, I think), so I cut it apart and reassembled it with a strip of pieces from the front.

ag back.jpg

When I went to baste this quilt, I saw that the top was quite a bit larger than the back, my first idea was to make the folded binding fold from front to back. Instead of back to front, the way I usually do. But  by that time I had found some more vintage gingham and was eager to add them to the quilt, as well! More Gingham!! (Don't count how many times I use the G Word in this post, please!) I added an outer boarder with the "new" pieces to the bottom. Now the bottom was bigger than the top. 

I basted the quilt with some vintage poly batting that I had. It was a very large one and left some scraps. AGATT was hand quilted with white pearl cotton thread over quite a long period of time (more on that below).  I went around the inside of each "box" of all the courthouse steps. Bc of the batting and the nature of the super soft vintage gingham, and weird fluffy texture of the vintage table cloth, this quilt is very puffy and fluffy. I didn't really try to keep it ultra smooth and tight when quilting as to add to this effect.   

For the binding I used my fold over method and bc the backing was quite a bit bigger it made a extra large fold. I quilted and secured the binding with more pearl cotton, mimicking the top by going around each side in a "box" motif. It gave the quilt a heavy, soft, floppy edge all around.  

All Gingham All The Time measures approximately  58" x 84". Almost all the cats helped me on this one, but notably Bippi (here), Tom (here, and here) and Pit (here and here). 

ag stripe.jpg

It was great weather to take photos and my husband held the quilt for me! A first! I'm linking up with Kathy and Slow Sunday Stitching to share this quilt today. All Gingham All The Time is also one of my 2015 Q1 Finish Along finishes!

And now, more to this story:

I started this quilt January of 2014. I worked diligently on it....until I hit a snag. I had made the top, was pleased with the bottom, decided to baste it with one of the vintage poly batting I had. All good so far. But when I started quilting it, I wasn't happy with the job I was doing. I'm sure all quilters run into this problem, and I'm sure they all see the two possible roads to fixing it.  1) Tear out the quilting and start again. 2) Put it out of sight and out of mind and try not to think about it (until you decide what to do). I ended up doing the latter, of course! I didn't want to rip out all the quilting I had already done. But I knew I wasn't doing my best work. 

I know that I shouldn't be telling you all this. 

I know that when one doesn't do their best, they should not alert people to that fact and take away from the enjoyment the viewer might get from the work. Perhaps the viewer didn't notice, or sees nothing wrong with the work... Perhaps they enjoy it and it's imperfections. By drawing attention to what the artist feels of as their short comings, the viewer enjoys it a little less or perhaps feels bad for liking it the way they do. I know we should not take away the viewer experience of the work. 

But, on the other hand,  It's often helpful for fellows in our craft to hear about mistakes we make, so they can learn and grow, as we have done. 

So I put the quilt aside for a while. Once I had had some space, I took it back out. It still wasn't as nice as I would like it to be, but I wanted to continue with what I had. To me, the mistakes seemed huge, and maybe they would to other quilters, too. But I would rather move on and than go backwards. I tried to be better as I moved forward. I still made some mistakes and there are still techniques that I need to learn to hone my craft. I'm looking at this quilt as not a salable or giftable quilt (maybe a second, or really close relation, who will love my work no matter what...), but as a learning experience. Not to mention I like this quilt! It's all crazy colors and bright pattern! 

Stormy Friendship Star: A Finished Mini Quilt

This is the first finish I'm posting for 2015. I've had a few others but with the snow stormy weather it's been hard to get any good photos. I was able to snap a few for this when the sun came out for a brief moment. 

This is also the first finish for Adrianne's (On The Windy Side) 2015 Finish Along

I started this mini when I was working on  another mini quilt top, so it's been done for many months. I used many of the same fabrics, vintage gingham, dots, and hearts, hand printed red cotton, and new anchors.  I added new storm cloud fabrics for borders. I made a plain red back with a vintage floral strip. When I layered them, I realized that I had made the quilt back too small, so added some dark blue borders on the back. 

I made a really scrappy pieced batting then I used cotton thread in matching colors to quilt inside the friendship star. For the rest of the quilt I used white pearl cotton.  I bound the edges with the fold over method that I like. I only bordered three sides in blue, so on the finished quilt front there's one red side. 

Stormy Friendship Star Mini measures approximately 29 1/2" x 29 1/2", but you can see, it's not exactly square. Is there a standard size or size limitation for mini quilts? This would be sweet wall hanging, or to drape over a chair or couch back. But it would also make a cute baby mat for a nautically inclined wee one. 

Bippi was probably most helpful on this quilt. But she did get disgruntled that it was so small. She prefers a larger size quilt to really give her room to sleep under. 

I'm also linking up with Kathy's Quilts today for Slow Sunday Stitching. Today she's talking about stress in stitching. Although the deadline for the Q1 finishes for the 2015 Finish Along is fast approaching, I feel pretty good about what I've accomplished the quarter.  Now I just have to make the time to blog about everything!


Mat Finish

I can't even tell you how long ago this finish was started. It must have been several years, at least. But in early December 2014, it was finished!

As I dimly recall, this "quilt" was started by just having lovely pieces of fabric near each other and the uncontrollable urge to sew them together. I remember that these were sewn together long ago with no real plan. And I remember later forming a plan to make an insanely long quilted strip of pieces like these. That plan never came into fruition, and the top for this mat was left to the WIP bin. After being bagged, un-bagged, tossed around, etc... It eventually made it's way to a chair top for many months where Flounder became quite taken with it. 

A few months ago, I cleaned it up, tried to get as much of the cat hair off of it as I could, made a back for it, and basted it. Then it sat in a new WIP pile, for a few weeks, and was later quilted while my friend was in town. 

I had been looking for a project to do a fan style quilting on and this was perfect. Having never used a fan design, I was worried it might be hard, or slow, so starting with something small was great! The quilting actually went surprisingly fast. I used acrylic black thread for quilting the fan designs, and I think that made a difference. Acrylic really glides thru the quilt as opposed to natural thread, whcih sometimes get caught or travel slowly. The hardest part of quilting this quilt was that some of the fabric is quite dark and made it hard to see the stitching while sewing.   

The fabrics in this quilted mat are mostly new from various fat quarters, but there are also some recycled clothes and a bit of vintage. I pieced the back with most black, some old but not vintage stars, and a bit of vintage purple which was also a backing on another quilt.  The batting was also a left over scrap. Since my quilts are never any particular size, and certainly not a standard size, I seem to always have batting scraps laying about. I folded over the backing to make the binding but only did one line of stitching, where I usually do two. This is partly laziness on my part, but also I envision this quilt to be super soft and easy to fold, roll, and carry. 

This mat quilt is approximately 50" x 22", Which is a pretty weird shape for a quilt. I see this quilt being small and portable and taken where ever you go. It can be used as a mat for yoga or exercise, taken to the park or beach and used as a seat, folded as a chair mat or to give you a little extra back support, laid out for a cat or baby mat. It could also be used as a table/dresser topper or bed runner, but I picture it being more versatile and utilized. It's really soft and a little puffy. I really love the way the fans are very clear and noticeable even though sometimes they are black on black. 

I still have to label this quilt and write up it's entry in my quilt journal. But it was very satisfying to finish such an old WIP!! It definitely made me get out my unfinished works and assess them for potential finishes! It was also nice that this quilt had some firsts: First oddly shaped finished quilt and first fan quilting design.  

I'm linking this post up with Kathey's Quilts for Slow Sunday Stitching

Friendship Mini: A Finished Quilt

Right on the heels of making my first friendship stars, I started playing around with the scale of the stars. And this mini quilt was born!

This quilt has a name and was made for someone. But if I revealed the name, it would give away the surprise!

This mini measures approximately 31" x 31" and the star is about 25" x 25". The center of the star has vintage heart fabric and new anchor fabric. The points are the same vintage polka dots that I backed the First Friendship Quilt with. The background for the star is vintage green gingham. The sashing is a new dark blue fabric with multi colored bubbles. 

The backing is a deep green floral/paisley that was a gift from a friend. It has stripes of the same anchors and bubbles from the front. Both are new fabric bought on Fabric.com, I believe. 

I did a lot of hand stitching with light blue pearl cotton in and around the star, but left the dark blues un-quilted. I used my fold over double stitched method for the binding.  I like how heavy the quilting is, but there are still areas that are blank. 

I'm pretty sure that I used a scrap of batting left over from the First Friendship Quilt for this mini. All the quilting makes this one pretty snuggly. It would be perfect for a baby quilt or baby mat, and it makes for a nice pet quilt, as well. 

Tom was most helpful in the making of this quilt. Bippi wanted to help, but it was too small to work on and have her sit under, so she was mostly just annoyed. 

qfa 1.jpg

I haven't labeled this mini, yet, but I have washed it. It's very soft and supple.  Unfortunately while taking these photos, I noticed that the binding did not catch in one part of the quilt!

I knew I was cutting it pretty close,  but I've never had this happen before!! So, along with a label, this quilt will need a little repair before it heads to it's new home. 

Since all my quilts are hand pieced, basted, quilted and bound, I like to link up with Kathy's Slow Stitching Sunday when I can!